Your first container of windows just finished production. The factory sent “completion photos”, everything looks fine. You paid the balance. The container shipped. Six weeks later, you open the doors at your warehouse and start pulling units off the pallets. Unit number seven has a visible bubble trapped inside the double-glazed unit. Unit twelve’s handle doesn’t engage the lock. By unit thirty, you’ve found that the weatherstripping on nearly every awning window has pulled out of its groove. The silicone was never pressed into the channel.
Returning the goods internationally would cost more than the shipment itself. You’re stuck, absorbing defects, fielding customer complaints, and learning an expensive lesson: window quality inspection must happen before the container leaves the factory, not after it arrives at your port.
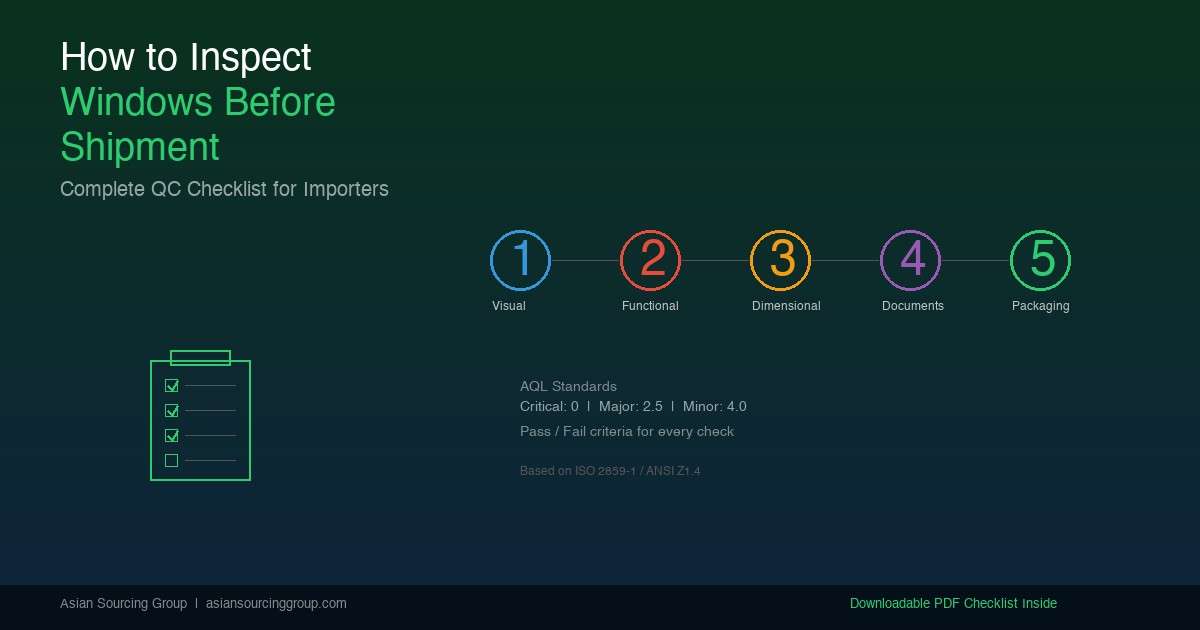
This guide provides a complete, actionable pre-shipment inspection (PSI) checklist specifically designed for window imports. It covers sampling methodology, visual inspection, functional testing, dimensional verification, documentation review, and packaging assessment, with Pass/Fail criteria for every check point. Whether you’re conducting your first inspection or refining an existing QC process, this framework gives you a repeatable standard.
When and Where to Inspect, The Three Critical Checkpoints

Window manufacturing quality can be verified at three stages. Most importers focus on the second one, but understanding all three helps you build a comprehensive quality program:
| Inspection Type | Timing | Purpose | Recommended For |
|---|---|---|---|
| Inline Inspection (DUPRO) | 10-30% production complete | Catch raw material substitutions and process defects early | Large orders (>$50K), new factories, complex specs |
| Pre-Shipment Inspection (PSI) | 100% production done, ≥80% packed | Final quality gate before payment of balance | All orders (minimum standard) |
| Container Loading Supervision | Loading day | Verify quantity, loading method, seal number | First orders, high-value shipments |
This guide focuses on PSI, the single most important quality checkpoint in your sourcing workflow. PSI occurs after production is complete but before the goods leave the factory. At this point, defects can still be corrected at the factory’s cost. After the container sails, the cost of correction shifts entirely to you.
Inspection location matters. Always inspect in the factory’s warehouse or packing area, never in a showroom. Showroom samples are hand-picked; warehouse stock is reality. If a factory insists on showing you only “selected samples,” that’s a red flag worth investigating.
Who conducts the inspection? Three options, ranked by cost and reliability:
- Third-party inspection company (SGS, Bureau Veritas, Intertek, QIMA), $300-$500 per person-day, formal report, strongest credibility with dispute resolution.
- Your own QC staff or sourcing agent’s team, lower per-inspection cost after setup, faster turnaround, requires trained personnel.
- Factory self-inspection report + video call, lowest cost, lowest reliability, acceptable only for repeat orders with established factories under $10,000.
Factor inspection scheduling into your overall project timeline. A typical PSI requires 1-2 person-days plus 1 day for report writing. If defects are found, allow 5-10 days for factory rework before re-inspection. Understanding realistic sourcing timelines by product category helps you build inspection buffers into your delivery schedule.
Sampling Standards, How Many Units to Check

You cannot inspect every unit in a 1,200-piece order without incurring costs that exceed the order’s margin. Instead, international trade uses statistical sampling based on ISO 2859-1 / ANSI/ASQ Z1.4, the globally recognized standard for acceptance sampling by attributes.
Setting Your AQL Levels
AQL (Acceptable Quality Level) defines the maximum defect rate you’re willing to accept. For window imports, we recommend:
| Defect Class | Definition | Recommended AQL | Window Examples |
|---|---|---|---|
| Critical | Safety hazard or regulatory non-compliance | Ac 0 / Re 1 (zero acceptance) | Tempered glass without safety marking; structural weld crack; IGU filled with water |
| Major | Functional failure or customer-visible defect causing complaint | AQL 2.5 | Hardware won’t operate; weatherstrip missing; dimension out of tolerance >2mm; wrong glass spec |
| Minor | Cosmetic issue not affecting function | AQL 4.0 | Surface scratch visible at 1m; uneven paint; incorrect label text; packaging dent |
Sample Size by Order Quantity (General Inspection Level II)
| Order Quantity (units) | Sample Size | Critical Ac/Re | Major Ac/Re | Minor Ac/Re |
|---|---|---|---|---|
| 91-150 | 20 | 0 / 1 | 1 / 2 | 2 / 3 |
| 151-280 | 32 | 0 / 1 | 2 / 3 | 5 / 6 |
| 281-500 | 50 | 0 / 1 | 3 / 4 | 7 / 8 |
| 501-1,200 | 80 | 0 / 1 | 5 / 6 | 10 / 11 |
| 1,201-3,200 | 125 | 0 / 1 | 7 / 8 | 14 / 15 |
| 3,201-10,000 | 200 | 0 / 1 | 10 / 11 | 21 / 22 |
Reading the table: “Ac” (Accept) means the batch passes if defect count is at or below this number. “Re” (Reject) means the batch fails if defect count reaches this number. For a 500-unit order with AQL 2.5 for Major defects: inspect 50 units; if you find 3 or fewer Major defects, accept the batch; if you find 4 or more, reject the entire batch.
Practical tip for first orders: Use tightened inspection (sample size × 1.5) for your first 2-3 orders with a new factory. Once you’ve established a quality baseline, switch to normal levels. This approach protects you during the highest-risk period while building data for smarter future decisions.
Stage 1: Visual & Appearance Inspection

The first inspection stage requires no tools beyond your eyes, a flashlight, and reference samples. Work through each component systematically.
Frame & Profile Check
| Check Item | Pass Standard | Fail Criteria | Method |
|---|---|---|---|
| Surface finish (painted/anodized) | No visible scratches, bubbles, or color variation at 1m distance | Scratches, bubbles >1mm diameter, or color mismatch visible at 1m | Visual + color card comparison |
| Profile cross-section dimensions | Within drawing tolerance (typically ±05mm) | Deviation >1mm from spec | Caliper measurement |
| Corner joints / welds | Flat, clean, no burrs or gaps | Visible gap >03mm or misalignment >1mm | Visual + feeler gauge |
| Color consistency (batch) | No perceptible variation within batch | ΔE >2 (visible color difference between units) | Side-by-side comparison against approved sample |
| Thermal break integrity (aluminum) | Polyamide strip flush with profile, no gaps | Visible gap or displacement of thermal break | Visual inspection of profile cross-section |
Glass & Glazing Check
| Check Item | Pass Standard | Fail Criteria | Method |
|---|---|---|---|
| Glass surface quality | No bubbles, stones, or scratches visible at arm’s length | Bubble >05mm, visible scratch, or inclusion | Backlight visual (flashlight from behind) |
| IGU seal integrity | Clear cavity None no fog, moisture, or particles inside | Any visible condensation, fog, or debris in cavity | Flashlight at angle through glass |
| Total glass unit thickness | Matches spec (eg, 5+12A+5 = 22mm ±1mm) | Deviation >1mm | Caliper at exposed edge |
| Low-E coating presence & orientation | Flame reflection shows correct surface position (#2 face for most climates) | No Low-E reflection detected, or coating on wrong surface | Lighter flame test (4 reflections; one should differ in color) |
| Safety glass marking | Permanent etched/printed mark (CCC, CE, SGCC, AS/NZS 2208) | No mark, or adhesive sticker only (stickers are not permanent) | Visual None check all glass panels in sample |
Low-E coating helps improve a window’s thermal performance when positioned correctly. Its presence and orientation can be verified against the approved glass specifications or with a suitable Low-E detector. The overall window performance also depends on the frame material and glass configuration.
Hardware & Accessories Check
| Check Item | Pass Standard | Fail Criteria | Method |
|---|---|---|---|
| Brand & model match | Identical to contract specification | Different brand, unmarked hardware, or “equivalent” substitution without approval | Visual None compare markings to contract |
| Surface treatment | No corrosion, no coating peeling | Any visible rust spots or flaking finish | Visual inspection |
| Fastener material | Stainless steel screws (non-magnetic or weakly magnetic) | Carbon steel screws (strongly magnetic None will corrode) | Magnet test |
| Weatherstripping | Fully seated in groove, continuous, rebounds when pressed | Out of groove, torn, or compressed without recovery | Manual press + visual along full perimeter |
| Spare parts included | Per contract (typically: 2 extra screws per window, 1 replacement handle per 50 units) | Missing or insufficient spare parts | Count against packing list |
Stage 2: Functional Testing

Now you open the windows and test every moving part. Select 5-10 units from different pallets (not consecutive units from the same pallet) for functional testing.
Opening & Closing Operation
| Test Item | Pass Standard | Fail Criteria | Method |
|---|---|---|---|
| Opening force | ≤50N or ≤45N (general standard) | >50N or requires two hands | Spring scale attached to handle, pull at 90° to sash |
| Closing force | ≤30N | >30N or requires slamming | Spring scale, push sash closed |
| Smooth operation | Full travel without binding, no metal-on-metal noise | Sticking at any point, grinding sounds | 5 complete open-close cycles per test unit |
| Stay/hold position (awning) | Sash holds at any opened angle for 30+ seconds | Sash drifts closed or open within 30 seconds | Open to 50% and 80%, observe 30 seconds |
| Multi-point lock engagement (casement) | All lock points engage simultaneously, handle firm | Partial engagement, handle loose or wobbly | Close and lock, attempt to pull sash open |
| Limit device function | Restrictor/limiter engages and holds at designed opening | Restrictor fails to engage or releases under light pressure | Open to restricted position, apply moderate force |
Field Water Penetration Test
This on-site test catches the most common and costly window failure, water leakage. It does not replace laboratory testing, but it catches gross seal failures before shipment.
Put a Professional Inspection Team in Front of Your Windows
- Select: 3-5 units from the sample set (include at least one from each pallet location).
- Method: Use a garden hose with a spray nozzle. Direct water at all joints, seals, and the meeting rail from the exterior side.
- Duration: 15 minutes continuous spray per unit.
- Pressure: Standard tap pressure (2-3 bar), do not use a pressure washer.
- Pass: No visible water penetration on the interior side after 15 minutes.
- Fail: Any visible water droplets, streams, or pooling on interior surfaces or sill.
Common failure locations: corner joints (improperly sealed), meeting rails (misaligned weatherstrip), and hardware penetration points (handle spindle, drain slots). If a unit fails, note the exact leak location; this diagnostic information helps the factory correct the root cause rather than just replacing the failed unit.
Air Leakage Spot Check
A quick qualitative test to catch major seal failures:
- Close and lock the window completely.
- Move a lighter flame (or smoke source) slowly along the entire perimeter seal from the interior side.
- Pass: Flame/smoke remains steady, no air movement detected.
- Fail: Flame deflects noticeably or smoke stream breaks at any point along the seal.
This test catches missing weatherstripping, unseated seals, and warped frames. It will not detect minor air leakage that requires laboratory pressurization testing; but it catches the failures that cause the most customer complaints.
Stage 3: Dimensional & Specification Verification
Pull out your tape measure and calipers. Measure the key dimensions on every sample unit and record actual values (not just “pass/fail”).
Critical Dimensions
| Measurement | Tolerance | Tool | Why It Matters |
|---|---|---|---|
| Overall frame width × height | ±2mm | Steel tape measure | Must fit rough opening; >2mm deviation causes installation problems |
| Diagonal difference (squareness) | ≤3mm | Steel tape measure | Out-of-square frames won’t seal properly when installed |
| Frame depth (thickness) | ±05mm | Caliper | Affects compatibility with wall thickness and trim |
| Sash dimensions | ±1mm | Steel tape measure | Affects operating clearances and weatherstripping compression |
| Glass visible area (daylight opening) | ±2mm | Steel tape measure | Verifies correct glass size and bead positioning |
Configuration Verification (Often Overlooked)
Beyond dimensions, verify that every specification matches the order:
- Opening direction, Left-hand vs right-hand, especially critical for casement windows (a mirror-image error renders the unit unusable in its designed opening).
- Glass configuration, Number of panes, individual pane thickness, gas fill type (argon vs air), Low-E position, spacer color.
- Color, Interior and exterior colors (dual-color units require separate verification of each face).
- Hardware operation type, Crank vs push-out vs electric actuator.
- Screen type, If insect screens are included, verify mesh type and frame color.
The most common specification error we encounter in window inspections is hardware brand substitution. A factory may install generic hardware that “looks the same” but has different load ratings, corrosion resistance, and cycle life from the contract-specified brand. This is particularly relevant when sourcing from factories that serve both multiple manufacturing regions with different hardware supply chains. Always verify hardware brand markings against your contract before signing off.
Stage 4: Documentation & Certificate Verification
The product might pass every physical test; but without proper documentation, it cannot legally enter your destination market. Verify these documents during the inspection:
| Document | Verification Points | Common Fraud Methods |
|---|---|---|
| Product compliance documents (NFRC / CE / AS 2047, as applicable) | Certificate number valid, covers this exact product model, not expired | Expired certificates, certificates for different models, certificates issued to different companies |
| Material test reports | Issued by accredited lab, covers glass/aluminum/hardware in your order | Reports from other clients’ orders, lab not accredited for relevant standard |
| Glass supplier certificate | Confirms IGU manufacturer, Low-E brand (eg, Pilkington, Guardian, Saint-Gobain) | Substituted generic Low-E for branded product |
| Factory inspection report | Self-test data (water, air, structural) from factory’s internal QC | Data fabricated or copied from another product’s test |
| Packing list | Item descriptions, quantities, weights match physical inventory | Short-shipment, mixed specifications within one SKU line |
| Certificate of Origin | Correct HS code, accurate country of origin, chamber of commerce stamp | Wrong HS code (affects duty rate), missing authentication |
For a complete breakdown of which certifications are required in each destination market, refer to our window certifications guide by market. The documents listed above are what you verify during inspection; they should already exist before your inspector arrives.
Stage 5: Packaging & Container Loading Assessment
Windows are fragile, heavy, and oddly shaped, a combination that makes packaging quality critical. Poor packaging causes 3-8% damage rates; good packaging keeps it under 1.5%.
Packaging Standards Checklist
| Check Item | Pass Standard | Fail Criteria |
|---|---|---|
| Outer packaging | 5-layer corrugated carton or timber crate; no tears or crushing | 3-layer carton, crushed corners, or water damage to box |
| Individual unit protection | Each window wrapped in EPE foam or PE film; corners protected with cardboard or plastic guards | Windows touching each other directly; no corner protection |
| Glass surface protection | Protective film applied to both glass faces (or foam sheet between units) | Unprotected glass surfaces |
| Hardware protection | Protruding hardware (handles, hinges) individually wrapped or recessed | Exposed hardware that can puncture adjacent packaging |
| Desiccant | Silica gel packets ≥50g per carton (prevents condensation during ocean transit) | No desiccant or <30g per carton |
| Shipping marks | Customer info, product description, quantity, “FRAGILE”, “THIS SIDE UP”, “KEEP DRY” | Missing marks, incorrect quantities, or marks in Chinese only |
| Palletization | Windows upright on pallets, strapped with PET banding, stretch-wrapped | Windows laid flat (causes glass stress fractures), no strapping |
Container Loading Supervision
If you’re supervising the container loading (recommended for first orders), follow this sequence:
- Pre-load inspection: Container interior clean, dry, no holes, door seals intact, floor undamaged.
- Loading orientation: Windows must be loaded vertically (standing up), never flat-stacked. Vertical loading prevents glass stress fractures and frame deformation.
- Securing method: PET straps or timber bracing every 1.5m along the container length. Dunnage bags (inflatable) between pallet groups to prevent lateral movement.
- Photo documentation: Photograph empty container → loading in progress → fully loaded → doors closed → seal applied. Record seal number and cross-reference with bill of lading.
- Final count: Total cartons loaded must match packing list. Any discrepancy requires immediate resolution before the truck leaves.
Common Window Defects, Classification & Action Guide
The following reference helps inspectors quickly categorize defects and determine the appropriate response.
Critical Defects, Automatic Batch Rejection
- Tempered glass spontaneous fracture pattern, Butterfly-pattern cracks radiating from a single point. Caused by nickel sulfide (NiS) inclusions. Dangerous because fracture can occur months after installation.
- Structural weld crack at corners, Visible crack in the welded joint. Compromises structural integrity under wind load.
- Missing safety glass permanent marking, Tempered or laminated glass in hazardous locations must carry permanent (etched/printed) safety marks. Adhesive stickers do not qualify.
- IGU seal failure with internal condensation, Moisture visible inside the glass cavity. The unit has lost its hermetic seal and will progressively fog.
- Wrong glass type in safety-critical locations, Annealed (non-tempered) glass used where safety glass is required by building code.
Major Defects, Count Against AQL 2.5 Threshold
- Weatherstripping out of groove, Seal not seated in the profile channel. Causes air and water infiltration.
- Hardware brand substitution, Contract specifies Brand A; actual product has unmarked or Brand B hardware.
- Operating force exceeds limit, Opening force >50N or closing force >30N.
- Dimensional deviation >2mm, Overall frame size or diagonal difference exceeds tolerance.
- Low-E coating on wrong surface, Coating on #1 face instead of #2 (reduces thermal performance and risks coating damage).
- Corner joint misalignment >1mm, Visible step or gap at frame corners.
- Water penetration during field test, Any visible water ingress during 15-minute spray test.
- IGU internal debris, Particles visible inside glass cavity (cannot be cleaned after sealing).
Minor Defects, Count Against AQL 4.0 Threshold
- Surface scratch on frame, Visible at 1m distance but does not penetrate coating.
- Uneven paint/coating finish, Color variation or texture inconsistency within acceptable range.
- Labeling errors, Incorrect text on product labels (model number typo, wrong language).
- Packaging cosmetic damage, Outer carton dented or marked but inner product undamaged.
- Minor silicone excess, Silicone sealant visible beyond joint line (cosmetic only, does not affect performance).
The Inspection Report, Standard Template Structure
A professional PSI report should contain these ten sections, delivered within 24-48 hours of inspection completion:
- Header information, Order number, PO reference, product model, inspection date, location, inspector name and credentials.
- Order & sampling summary, Total order quantity, sample size selected, AQL levels applied, sampling method reference.
- Inspection result summary table; Each check item with Pass/Fail status, defect count, and defect classification.
- Defect details with photography; Every defect photographed (wide shot showing location + close-up showing detail), described, classified, and counted.
- Dimensional measurement records, Actual measured values vs. specification values, with deviations highlighted.
- Functional test results, Operating force measurements, water test outcomes, air leakage observations.
- Packaging & loading assessment, Packaging compliance score, loading photos, seal number.
- Document verification results; Each required document checked with verification outcome.
- Overall conclusion, PASS, PENDING, or FAIL with clear criteria stated.
- Recommendations, Specific corrective actions required, re-inspection timeline, or release authorization.
Decision rules:
- PASS: Critical defects = 0, Major defects ≤ Accept number, Minor defects ≤ Accept number.
- PENDING: Major or Minor defects exceed Accept number but below Reject number, requires buyer decision (accept with discount, partial rework, or full rejection).
- FAIL: Any Critical defect found, OR Major/Minor defects reach Reject number, batch rejected, factory must rework 100% and submit for re-inspection.
When to Hire Third-Party Inspection vs. Managing In-House
| Scenario | Recommended Approach | Budget Range |
|---|---|---|
| First order with a new factory | Mandatory third-party (SGS, BV, Intertek) | $300-$500/person-day |
| Order value >$30,000 | Third-party inspection (ROI is clear: inspection cost <2% of order value) | $300-$500/person-day |
| Repeat order, established factory (2+ successful orders) | Own QC staff or sourcing agent team | $150-$250/visit |
| Order value <$10,000 | Factory self-inspection report + live video inspection | $0 (your time) |
| Government or developer project (contractual requirement) | Mandatory third-party + formal report (specific inspector may be named in contract) | $400-$600/person-day |
If a factory resists or delays your inspection request, claiming “the goods are already packed” or “we don’t allow inspections during production”, treat this as a significant supplier red flag. Legitimate manufacturers welcome buyer inspections; factories hiding quality problems create obstacles.
Digital Tools for Inspection Management
Modern inspection management goes beyond paper checklists:
Inspection Apps & Platforms
- QIMA (formerly AsiaInspection), Standardized templates, real-time report generation, photo annotation, integrated with booking system. Best for importers doing 10+ inspections per month.
- Inspectorio, Enterprise-grade quality management platform with supplier scorecards, trend analytics, and corrective action tracking. Best for large-volume importers managing multiple factories.
- Google Forms + Sheets (DIY), Create your own inspection form with photo upload fields. Auto-generates spreadsheet for trend tracking. Free and fully customizable.
Photo Documentation Standards
- Naming convention:
[OrderNumber]-[Model]-[CheckItem]-[SequenceNumber].jpg. - Two-shot rule: Every defect gets a wide shot (showing position on the full window) plus a close-up (showing defect detail clearly).
- Reference shots: Include the approved sample or contract drawing in frame for comparison shots.
- Storage: Cloud-based (Google Drive or Dropbox), organized by order number folder, retained for minimum 2 years.
Supplier Scorecard
Track each inspection’s results over time. Key metrics:
- Defect rate by class (Critical / Major / Minor) per inspection.
- Trend direction (improving / stable / deteriorating).
- Re-inspection frequency (how often does first inspection fail?).
- Response time for corrective actions.
When a supplier’s defect rate trends upward over 2-3 consecutive inspections, it often signals deeper operational problems. Monitoring these warning signs of supplier decline through your inspection data gives you early warning before quality problems reach your customers.
Your Pre-Shipment Inspection Action Checklist
Use this timeline to ensure nothing falls through the cracks:
7 Days Before Inspection (D-7)
- ☐ Confirm order specification file is current (contract + drawings + color codes + hardware schedule).
- ☐ Assemble inspection tools: steel tape (3m+), digital caliper, spring scale (0-100N), flashlight, lighter, color reference card, camera/smartphone.
- ☐ Schedule inspection date with factory (require 100% production complete, ≥80% packed).
- ☐ Confirm inspection location is factory warehouse (not showroom).
- ☐ If using third-party: book inspection 5+ business days in advance.
- ☐ Send factory the inspection scope document (so they know what you’ll check).
Inspection Day
- ☐ Verify sample quantity matches AQL table for order size.
- ☐ Select samples randomly from multiple pallets (not factory-selected units).
- ☐ Execute Stage 1: Visual & appearance inspection.
- ☐ Execute Stage 2: Functional testing (5-10 units).
- ☐ Execute Stage 3: Dimensional measurement (all sample units).
- ☐ Execute Stage 4: Documentation verification.
- ☐ Execute Stage 5: Packaging & loading assessment.
- ☐ Photograph every defect (wide + close-up) and every sample unit (ID label photo).
- ☐ Record all findings in real-time (don’t rely on memory).
- ☐ Count and classify all defects before leaving the factory.
1-3 Days After Inspection (D+1 to D+3)
- ☐ Complete inspection report (within 24 hours while details are fresh).
- ☐ Send report to supplier with defect photos and classification.
- ☐ If FAIL: demand written corrective action plan + re-inspection date (within 7-10 days).
- ☐ If PASS: confirm container loading schedule + arrange loading supervision if needed.
- ☐ Update supplier scorecard with inspection data.
- ☐ Archive all photos and documents in cloud storage (retain 2+ years).
Understanding how inspection fits into your overall procurement workflow, from the landed cost calculations that justify the inspection expense to the product type selection that determines what you’re inspecting, helps you build a sourcing operation that consistently delivers quality product to your customers.
Frequently Asked Questions
How much does a pre-shipment inspection cost, and is it worth it?
A standard window PSI costs $300-$500 for a third-party inspector (1 person-day). Compare this to the cost of discovering defects after arrival: bonded storage fees ($200+/day), re-export or destruction costs, replacement order delays (8-12 weeks), customer penalties for late delivery, and reputational damage. For orders above $15,000, the ROI on inspection is typically 10-50× the inspection cost.
Should I share my inspection checklist with the factory before the inspection?
Yes. Sharing your inspection scope and standards upfront serves two purposes: it motivates the factory to self-check before your inspector arrives (reducing the probability of first-inspection failure), and it establishes clear expectations that prevent disputes about “what counts as a defect.” Transparency in quality standards builds stronger supplier relationships than surprise inspections.
What if the factory refuses to allow inspection?
This is a deal-breaker scenario. Legitimate manufacturers with proper quality systems welcome inspections; they know their product will pass. Factories that obstruct inspections are hiding something. Move to an alternative supplier. No single factory is irreplaceable in China’s window manufacturing sector, which has hundreds of qualified producers across multiple industrial clusters.
Can I inspect windows after they arrive at my destination port?
You can; but the economics are entirely different. At destination, your options are: accept the defects (absorb losses), hire local repair (expensive, limited capability for glass-related issues), re-export to China for rework (prohibitively expensive), or destroy and reorder (total loss plus 8-12 week delay). Pre-shipment inspection helps identify defects before shipping, giving importers time to address issues before the goods leave the factory.
How do I handle a situation where inspection shows PASS but problems appear later?
Three protections: (1) Retain inspection photos and reports for warranty reference; (2) Negotiate contract terms that include a “latent defect” clause, defects not detectable by standard PSI but discovered within 12 months of delivery are the factory’s responsibility; (3) Maintain a 5-10% retention on final payment, released only after successful installation and 30-day performance period. This aligns the factory’s interest with your long-term quality outcomes.
Building Your Quality-First Sourcing Operation
A well-executed pre-shipment inspection takes 1-2 person-days and costs $300-$800. A container full of defective windows arriving at your port costs 10-50 times more in direct expenses; and immeasurably more in customer trust and project timeline damage.
The importers who consistently receive quality windows from Chinese factories aren’t lucky. They’ve built systematic quality verification into their sourcing process. They inspect before payment, they document everything, they track supplier performance over time, and they use inspection data to make smarter sourcing decisions with every order.
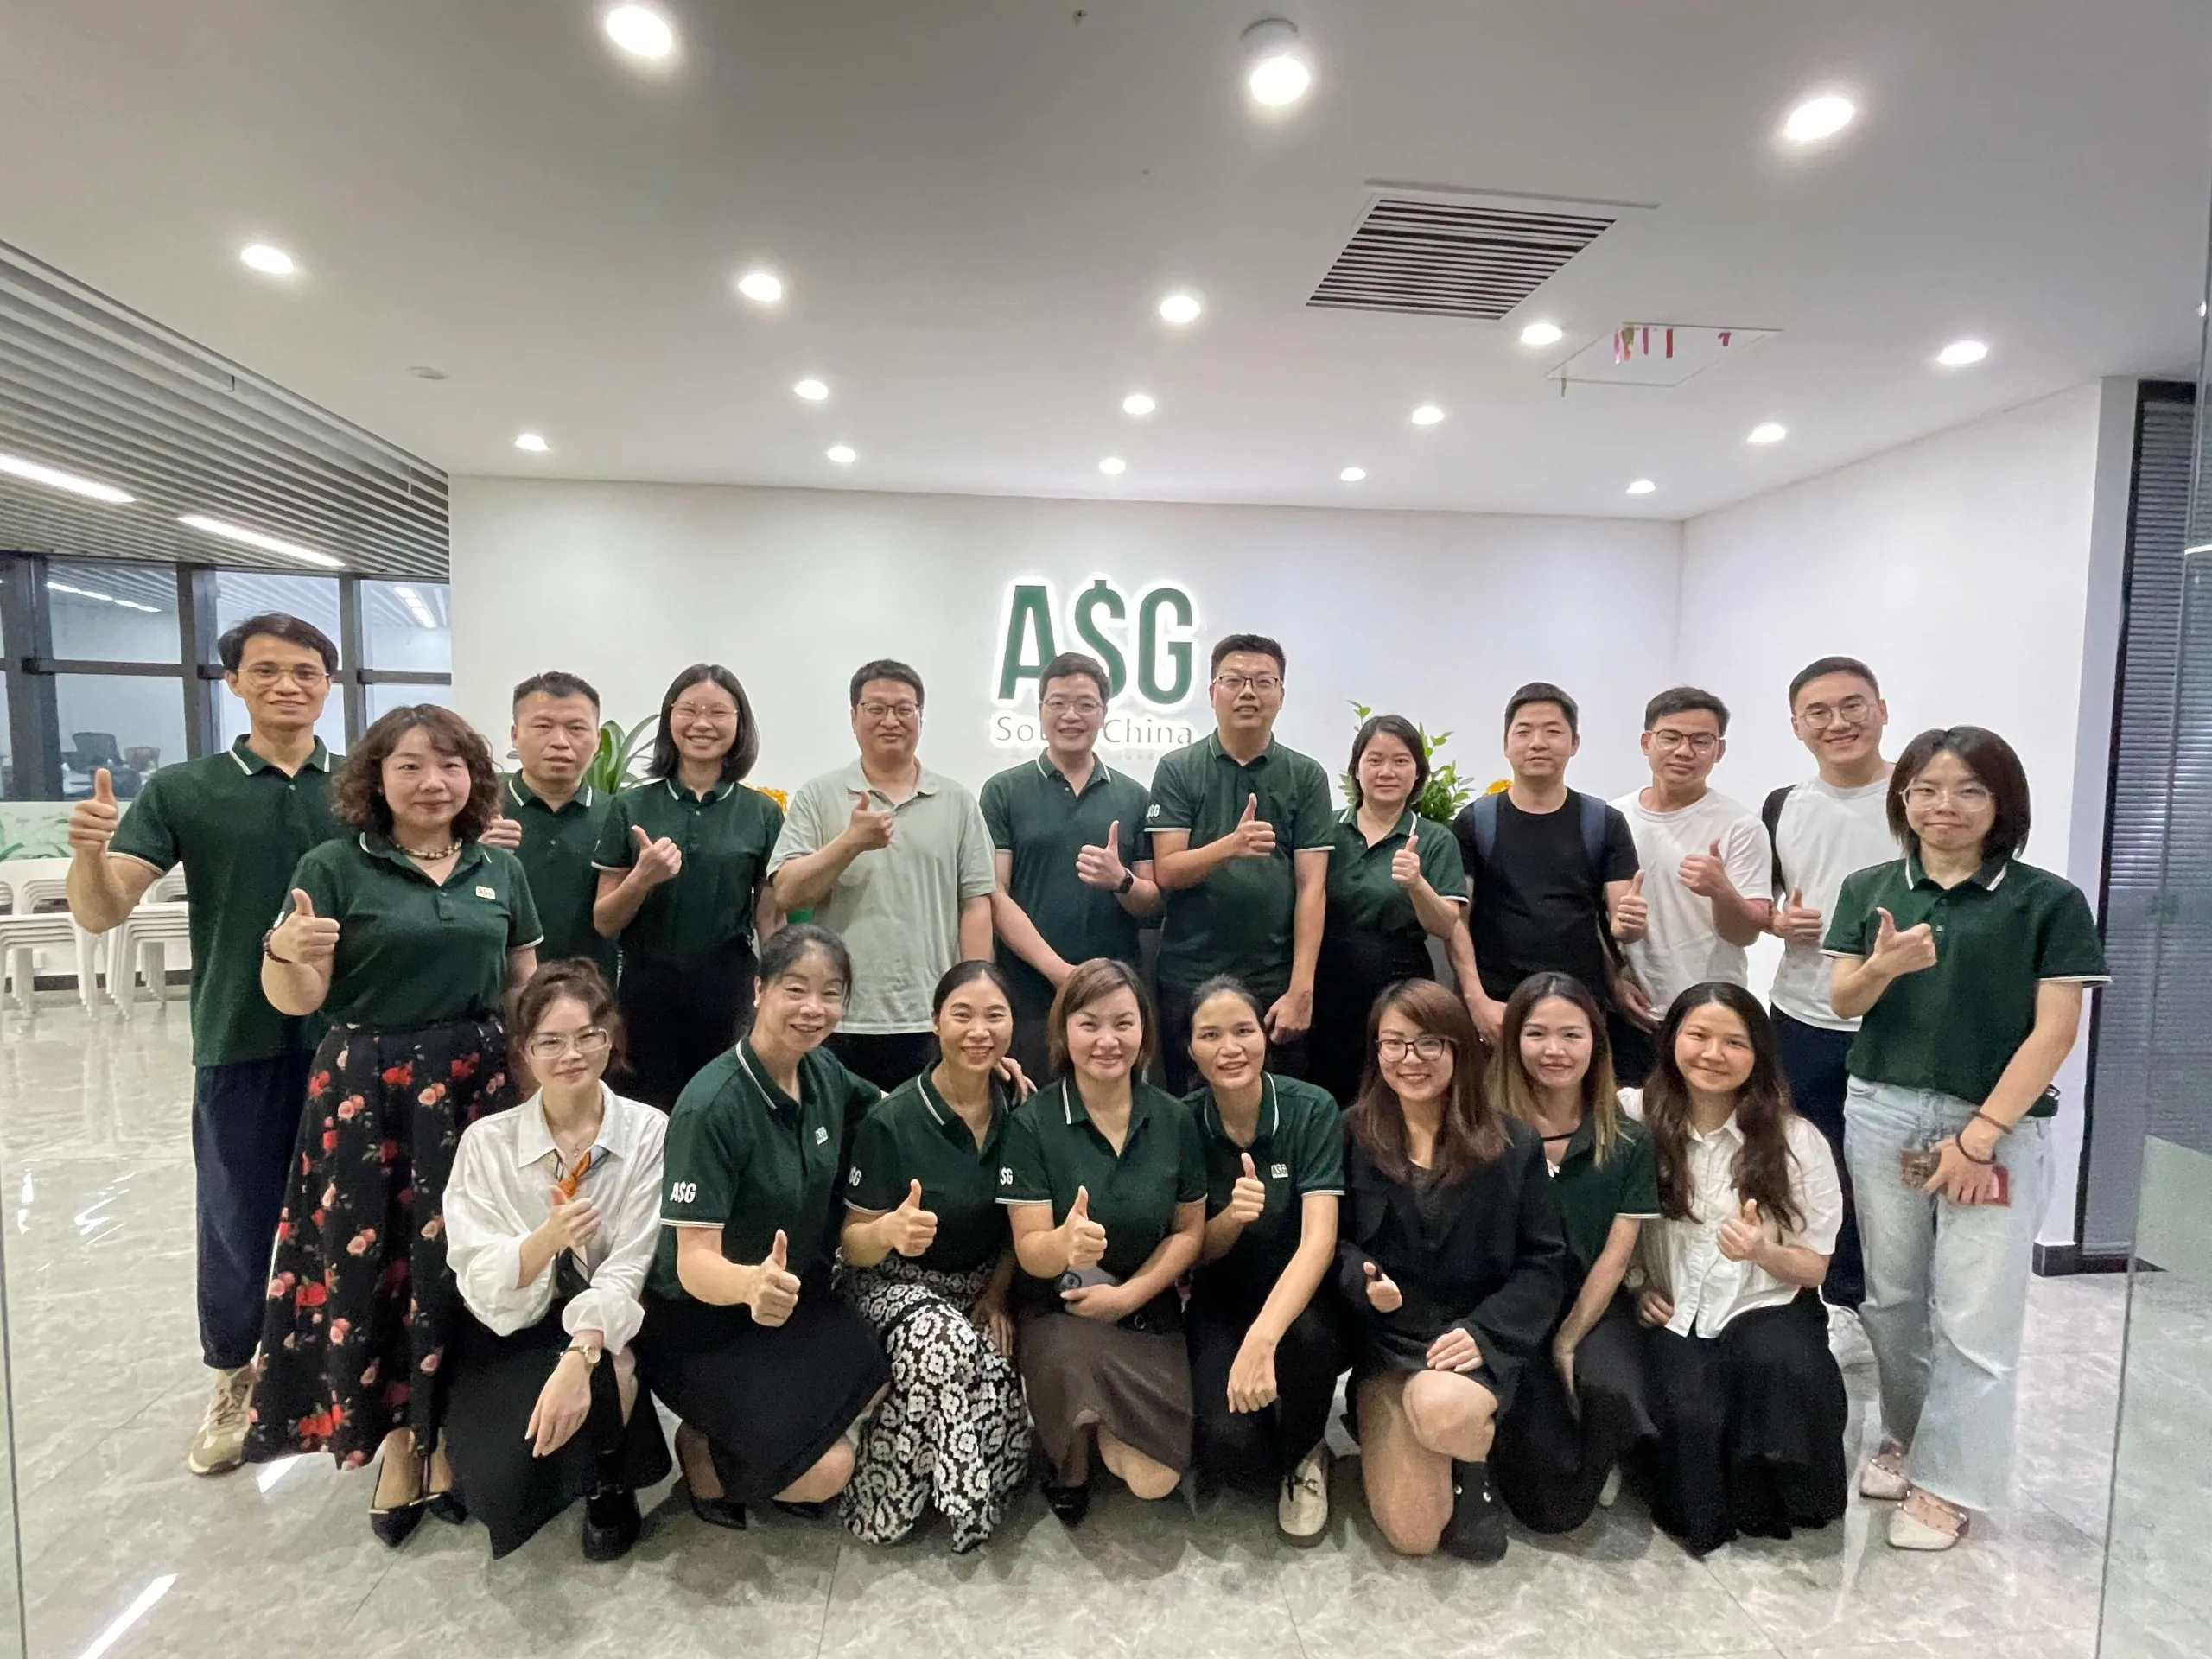
Whether you need a one-time inspection for a trial order or an ongoing quality management program across multiple factories and product lines, Asian Sourcing Group provides dedicated QC teams stationed across China’s major window manufacturing regions. Our inspectors conduct pre-shipment inspections, container loading supervision, and factory audits, delivering detailed reports within 24 hours so you can make fast, informed decisions about your shipments.